


The most reliable approach is to print a short custom LinkedIn URL and, where space allows, add a scannable QR code that links straight to it. The QR code gets you an instant connection from a phone camera, and the printed URL is your fallback for anyone who can’t or won’t scan. Before you order anything, tidy up your profile, generate the code, export it at print resolution, and test it on paper first.
TL;DR:
- Ensure your custom LinkedIn URL is simple, preferably in the format linkedin.com/in/yourname, and avoid using digits or unnecessary query parameters.
- Use a standard QR code generated from your URL for printed cards, choosing a static code for long-term use or a dynamic one if updates may be needed later.
- Place the QR code at least 2cm by 2cm, centered on the back of the card, with a clear call to action and the URL placed nearby for accessibility.
- Test the QR code for compatibility across multiple devices before printing, using vector formats like SVG or high-resolution PNGs at 300 DPI.
- Consider digital business cards for roles that frequently change, as they automatically update, reducing the need for reprints and maintaining consistent branding.
Table of Contents
- How to add a LinkedIn URL to your business card
- How to create a QR code for your LinkedIn profile
- Where the QR code and URL should sit on the card
- Print and testing checklist before you order
- When a digital business card fits better
- A working professional’s take on choosing your approach
- Try EcoCard before you print a single card
- Sources
- FAQ
How to add a LinkedIn URL to your business card
Before you touch a QR generator or a design template, fix the URL itself. LinkedIn hands every new account a default web address stuffed with random numbers and letters, and that is not something anyone can type from memory off a business card.
Go into your profile, click “Edit public profile & URL” in the top right panel, and set a custom address. LinkedIn’s own guidance on customising your profile URL explains how the vanity format works: it replaces that string of characters with something readable, ideally linkedin.com/in/yourname.
A few formatting habits matter more than people think:
- Drop the “https://” and “www.” when printing it. Nobody types a protocol from a card, and it just adds visual clutter.
- Keep it to
linkedin.com/in/yourname, no trailing slash, no extra query parameters. - If your name is already taken, use a close variant (middle initial, hyphenated surname) rather than a string of digits. Digits are the exact problem you’re trying to avoid.
- Match the case people expect. LinkedIn URLs aren’t case-sensitive, but writing it in lowercase looks cleaner and reads faster.
On the card itself, the LinkedIn line usually sits in the contact block with your email and phone number, in a smaller weight than your name and title. If you’re short on space, you don’t need the word “LinkedIn” spelled out. A small [in] icon before the handle does the job, provided you’re using an approved mark from LinkedIn’s own brand resources for the logo rather than a generic social icon set.
One decision point trips people up: full handle or shortened? Keep the full linkedin.com/in/yourname format rather than abbreviating further. A half-typed URL that doesn’t resolve is worse than no URL at all, because it costs the recipient a failed search and a bit of trust in your attention to detail.
How to create a QR code for your LinkedIn profile
You have two starting points here, and they are not equally good for print.
- Skip the LinkedIn app’s built in code for printed cards. Open the LinkedIn app, tap your profile photo, then “My QR code,” and it generates a scan icon meant for two phones tapping codes at a networking event. It works fine phone-to-phone, but as SalesRobot’s breakdown of LinkedIn QR codes points out, it’s tuned for LinkedIn’s own scanner rather than the plain camera app most people actually use, which makes it a weaker bet for something printed and handed to a stranger.
- Generate a standard URL based QR code instead. Take your custom profile URL and paste it into a QR generator built for that purpose. This produces a code any phone’s native camera can read without opening LinkedIn first, which is the whole point of a printed card.
- Choose static or dynamic depending on how long the card will be in circulation. A static code bakes your URL directly into the pattern; if you ever change your handle, the card is dead weight. A dynamic code points to a short redirect link you can repoint later without reprinting a single card, an advantage worth having on any run over a few hundred units.
- Export the right file formats for your printer. Ask for an SVG, since vector files scale to any card size without losing sharpness. If your printer insists on a raster file, supply a PNG at 300 DPI at the final printed dimensions, not a screen-resolution PNG stretched up.
- Set colour and contrast before you export. Dark modules on a light background remain the safest combination. Following the QR code design rules from QR Code Generator, stick to high contrast and don’t get clever with gradients or a logo dropped into the centre unless you’ve tested that specific version.
- Run it past a universal compatibility check. Scan the exported file with at least two different phone brands and camera apps before it goes anywhere near a printer, not just the phone you designed it on.
Skipping straight from “LinkedIn app code” to “send to printer” is the single most common mistake in this whole process, and it’s the one that produces cards nobody can actually scan.
Where the QR code and URL should sit on the card
Layout decides whether the code gets used or ignored. The strongest pattern for a standard card is a QR code centred on the back, paired with the readable URL still sitting in the contact block on the front.
That split matters for a practical reason. Someone glancing at your card in a meeting sees the URL immediately, without flipping it over. Someone who wants to connect on the spot flips the card, sees a clean, uncluttered code with nothing competing for attention, and scans it in a second.
A few placement and wording rules worth locking in:
- Keep at least 2cm × 2cm of dedicated space for the code itself; smaller and you start fighting the minimum size rules that govern scan reliability.
- Never place the code over a busy background image, a fold line, or near a rounded corner where trimming might clip it.
- Use a short line of microcopy under or beside the code rather than leaving it bare. “Scan to connect on LinkedIn” tells the recipient exactly what they’re about to open, and wording tested by IMQRScan found named-platform CTAs like this outperform a generic “Scan me.”
- Always print the readable URL next to or under the code, never the code alone. This is standard practice in accessible QR code design, because anyone with low vision, an older phone, or a camera that won’t focus still needs a way in.
Pro Tip: If you’re designing for a formal industry (law, finance, government relations), drop the icon and CTA line entirely and just print the plain URL. A QR code on a card handed to a judge or a compliance officer can read as gimmicky in those settings, and the written URL does the job without the risk.
Print and testing checklist before you order
Most scan failures trace back to one of four things: size, resolution, contrast, or a rushed order with no test print. Check all four before you commit to a run.

Size follows a rough 10:1 rule: a code needs to be roughly one tenth of the scanning distance. For a business card scanned at arm’s length, that lands around 1.2 inches (3cm) as a comfortable minimum, more if your URL is long enough to need a denser code. Dense codes need bigger modules too. Divide your planned print width by the module count, and if any individual module works out under 0.5mm, either enlarge the code or shorten the destination URL.
Resolution should be 300 DPI at final print size, full stop. A 1 inch (2.5cm) code needs roughly 300 × 300 pixels at that dimension; anything less and the modules blur into each other under a camera lens, which is exactly the failure mode OwnQR’s print guide flags as the most common cause of a “can’t read this” card.
Contrast and quiet zone are the two specs designers most often shave for the sake of a cleaner look, and both punish you at the printer. Keep a 4-module blank border (the “quiet zone”) around the whole code with nothing else printed in it, and hold contrast at 3:1 minimum between modules and background, 4.5:1 if you want real reliability across older phone cameras.
Run this sequence before approving a full print run:
- Screen test the exported file on two or three different phones.
- Print one physical sample at 1:1 on the actual card stock you’ve chosen, not office paper.
- Scan that physical sample with multiple devices, in a badly lit room, not just under your desk lamp.
- Send a final proof to your printer and get their sign off before the full batch runs.
If you’re ordering a large or long-running batch, use a dynamic code so a wrong URL or a later handle change doesn’t strand thousands of dead cards in a drawer.
When a digital business card fits better
A printed card locks in the moment it comes off the press. Change roles, switch employers, or rebrand your title, and every card in circulation is instantly wrong. That’s the scenario where a digital business card earns its keep, particularly for people whose details change often, for teams that need consistent branding across dozens of staff, or for anyone who wants to hand over a live portfolio rather than a static link.
A digital card built through a digital business card platform can carry your LinkedIn profile, other social links, and portfolio documents on one page that updates the moment you edit it, no reprint required. To set one up:
- Create your profile and drop in your LinkedIn URL alongside your other contact details.
- Generate the shareable QR code or link EcoCard produces for that profile.
- Update your title, company, or links any time your role shifts, with every version of your card refreshed instantly.
- If your team still wants physical cards for certain events, export a high resolution version of your digital profile’s QR code for printing rather than screenshotting it off a screen.
A working professional’s take on choosing your approach
Context decides the format more than any general rule does. At a conference or trade show, lead with the QR code and a direct CTA. People are moving fast and want the one tap connection. In more conservative sectors, a written URL in clean type still reads as more considered than a code, even if it takes an extra ten seconds to type.
Teams have a different problem entirely: printed cards go stale the moment someone changes roles, so centralising links through a managed digital card system protects brand consistency far better than reordering print runs every time a title changes.
— Chris
Try EcoCard before you print a single card
EcoCard is the alternative to reordering printed cards every time your title, employer, or LinkedIn handle changes. Instead of locking your details into paper, you build one profile that carries your LinkedIn link, other socials, and any portfolio files you want to share, and every card connected to it updates the moment you edit it.
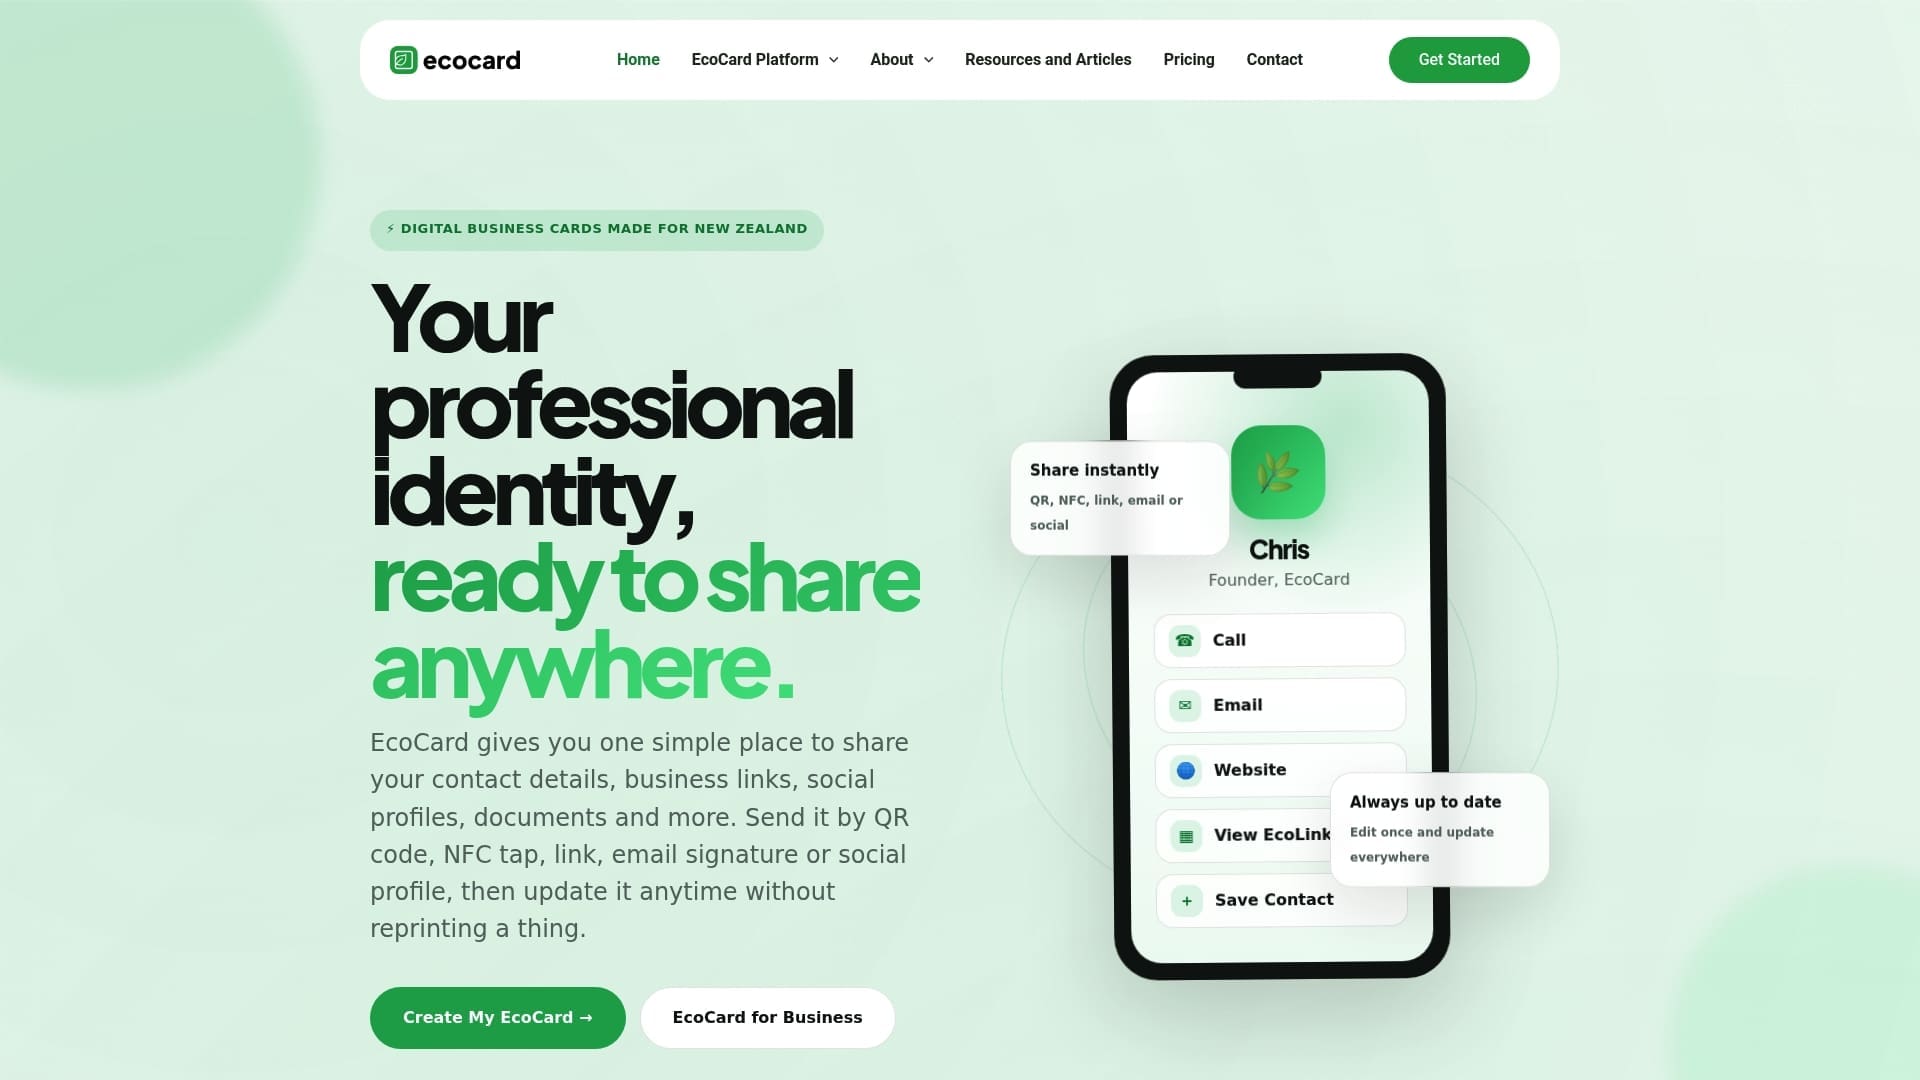
An Individual EcoCard gets you a working digital card with QR and direct link sharing, so you can test the exact scanning experience your contacts will get before committing to a print run. If you’re setting up cards for a whole team, the platform’s central admin tools keep branding and contact details consistent across every staff member, with onboarding and offboarding handled without a reprint. Full plan details, including the Individual, Starter, Business, and Teams tiers, sit on the EcoCard pricing page. Have a look at real card examples and set up your first profile today.
Sources
This guide draws on LinkedIn’s own help documentation, QR code design and print best-practice guides, and accessibility recommendations for pairing scannable codes with readable text.
- QR Code Generator — QR code design rules
- Fast QR — Accessible QR code design for low vision and other needs
- OwnQR — QR code print best practices
FAQ
How do I include LinkedIn on my business card?
Set a custom LinkedIn URL in your profile settings, print it in your contact block, and add a QR code linking to that same URL on the back of the card if space allows. Always keep the typed URL visible even when a QR code is present, so anyone who can’t scan can still reach your profile.
How do I insert a LinkedIn icon on my card?
Download the official [in] mark from LinkedIn’s brand resource page rather than using a generic social icon, and place it directly beside your printed URL. Keep it small and in a single colour that matches your card’s existing palette.
What is the 4-1-1 rule on LinkedIn?
The 4-1-1 rule is a content posting guideline, not a card-formatting standard, so it isn’t directly relevant to printing your LinkedIn link on a business card. It typically refers to a ratio for how often you share others’ content versus your own on social platforms.
How do I get my LinkedIn URL link?
Open your profile, click “Edit public profile & URL” in the top right panel, and set a custom handle in the linkedin.com/in/yourname format. This replaces the default address, which is usually a long string of random characters that’s impossible to type from a printed card.
Should I use a digital business card instead of printing one?
A digital card, such as one built with EcoCard, suits anyone whose role, employer, or contact details change often, since every card updates live without a reprint. Printed cards still work well for formal handouts and events, but pairing them with a QR code that links to a maintained digital profile gives you the reliability of both formats.
Recommended
This article was produced with AI assistance and reviewed for accuracy. It is provided for general information only and is not professional advice.

